Installing HCP tools (Windows)
Get the installer
Download the HCP tools client software installer from the following link.
If you need past versions and others, you can download here.
Installing the HCP tools client software
Double click HCP_Tools_Client.msi.

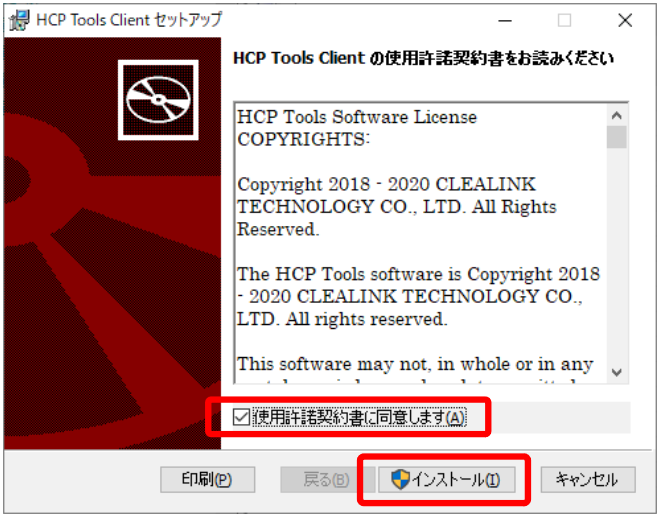
Check the box "I accept the license agreement(A)" and click "Install(I)".

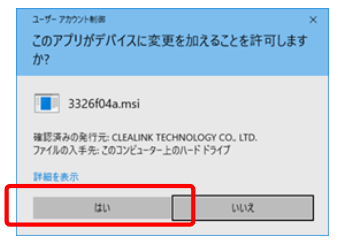
Click "Yes" to the permission to change the device. Installation will start.

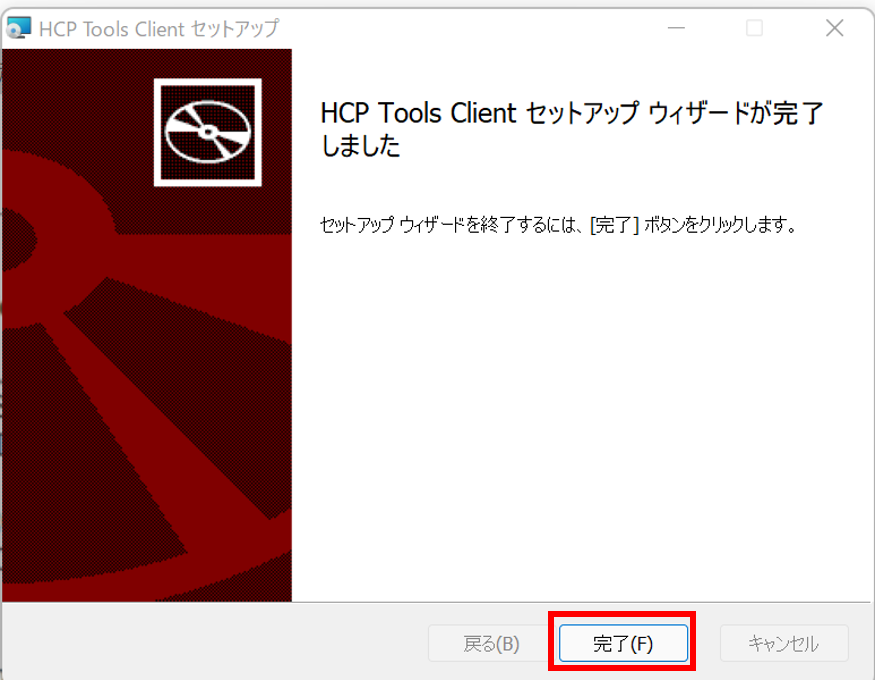
When installation is complete, the following screen will be displayed on the screen. Click "Finish(F)".

After installation, make sure that the run command exists under C:\Program Files and the configuration file exists under C:\ProgramData.
- The run command : 'C:\Program Files\Clealink\HCP Tools\hcp.exe'
- The configuration file: 'C:\ProgramData\Clealink\HCP Tools\hcp.conf'
Location the configuration file
HCP tools refers to the configuration file in the _hcp directory directly under the user directory (C:\Users\your_name) when you use Windows as the OS of the user's client computer.
When you run the following command in the Windows PowerShell, you can copy the configuration file template.
mkdir C:\Users\your_name\_hcp
cp "C:\ProgramData\Clealink\HCP Tools\*.conf" C:\Users\your_name\.hcp
Editing the configuration file
Locate the HCP tools configuration file in the user directory and add the public key settings for user authentication.
Procedure: How to write the configuration file

